I was so pleased when I got this blue and green glass…
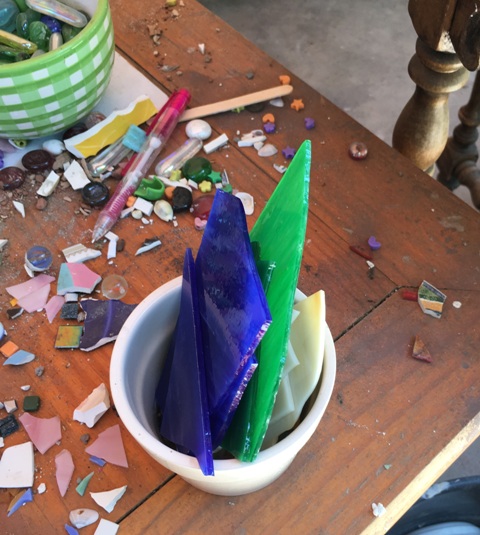 Because I really wanted to make a peacock mosaic!


Actually I made two. This is the first one, which is still not finished, because the tray needs to be painted. But there’s nothing in the “Tracy project manual” that says you have to finish one project before starting a new one. 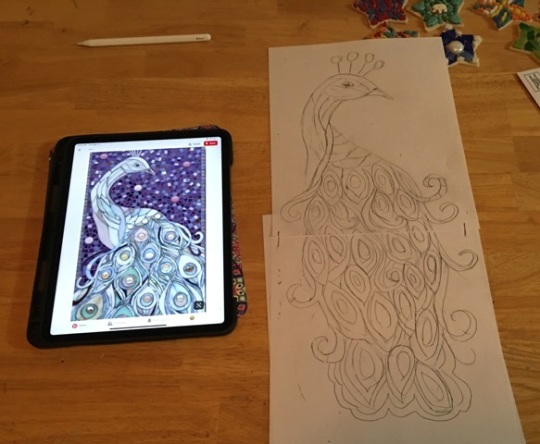 So when I saw this, I thought it would be fun to try doing the circular designs in the background (which you can’t really see on the iPad in this photo). It ended up having to be on two separate pages, but I figured I could still do it…
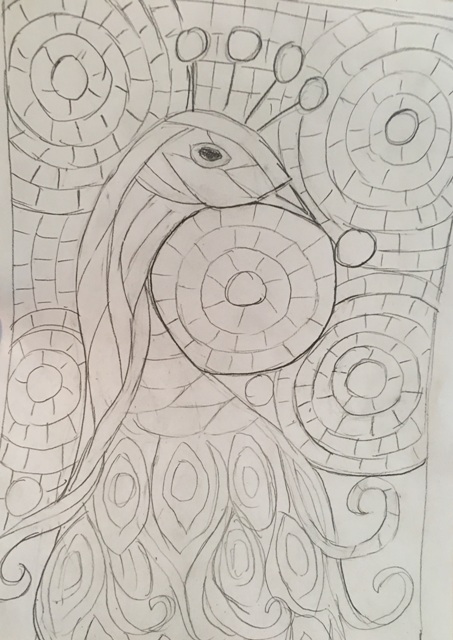 Remember, when you sketch this kind of stuff, you don’t have to put your tiles exactly like the drawing. It’s just to give you a general idea and then you can let the final pattern take shape as you go.
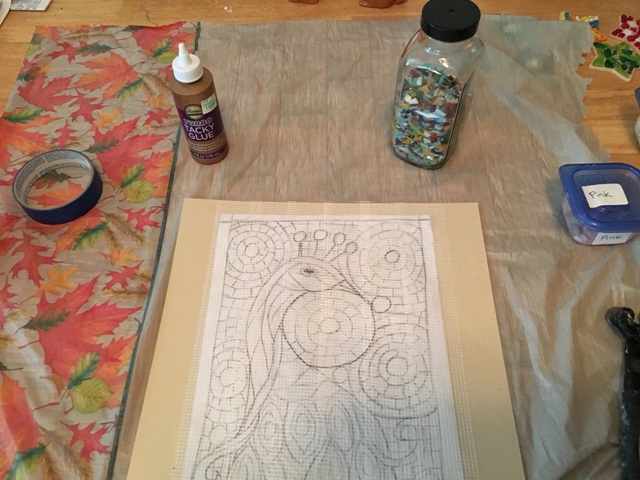 Finally it was time to get started! That’s part of a Dollar Store tablecloth underneath it. Much easier than newspaper, and you can get quite a few pieces out of one tablecloth.


I think it’s so much fun to start a new mosaic! Besides making good “blog material”, the photos I take while working help me to know how much time I have spent on a project. I don’t really pay attention to the time while I’m working, but later I can look back on my phone and see how much time has elapsed between photos.


While you may not be paying attention to the time you spend working on your mosaic, be sure your cat will. Nothing like a few tooth marks on a paper cup to spell “Mom, this is boring”!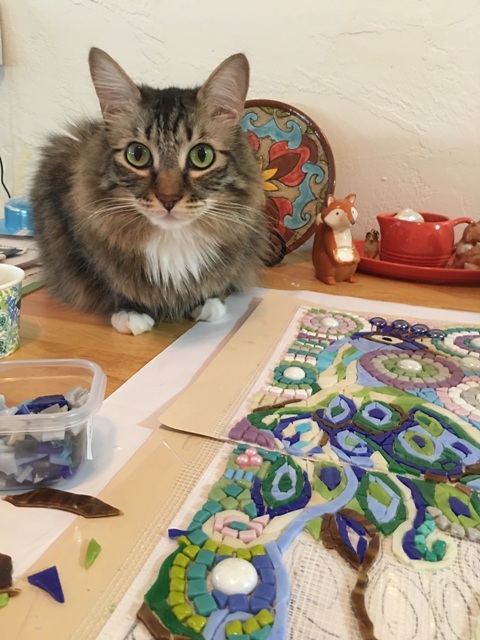 “So Mom, what are you trying to say?”


It’s always best to experiment before adding glue if you’re not sure how something is going to look.


If you’ve read “Why Teachers Shouldn’t Be Mosaic Artists”, you might wonder about the “unorganized” and “not color coordinated” tiles on the table. I guess if you just read the title again, that should be all the explanation necessary!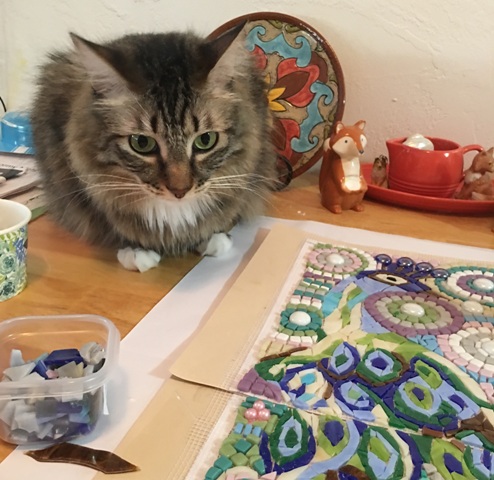 Under the watchful eye of my trusty assistant, I finally made it to the bottom part of the peacock.
 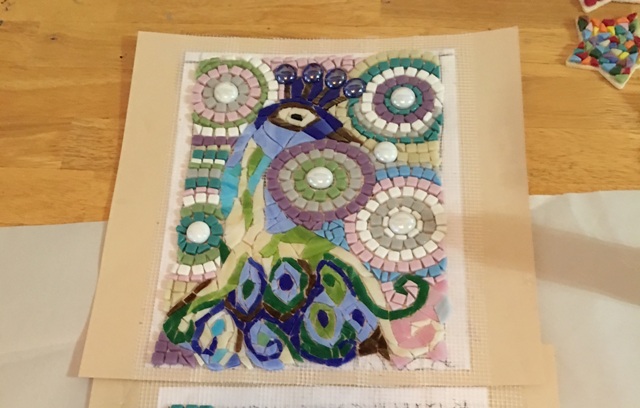 I had a feeling the two parts might not match up perfectly, but I also figured if worst came to worst I could add some tiny pieces in the space between them once they were glued to the background.


I did try to keep the top piece lined up as well as I could while working on the bottom. The next thing was to figure out what kind of background to use. I guess it could be a good idea to know this in advance, but I don’t really operate that way. It turned out I had this wooden calendar holder that I had gotten at Carlos’s store (years before it ever became Carlos’s store), and since I hadn’t been using it, I tried it out for size. Knowing it was going to be kept in the house, I figured this time it was safe to use wood for the background. (For information on that mosaic “fail”, read “It Was a Good Idea”…)


After measuring carefully, I sanded the area a little bit and then used Weldbond to affix the mosaic to the wood.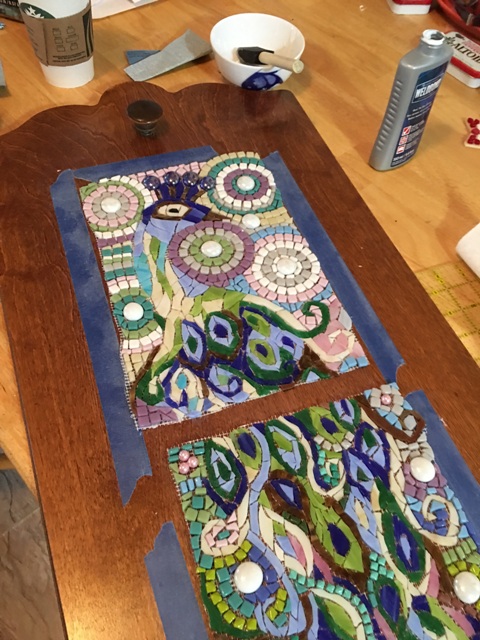


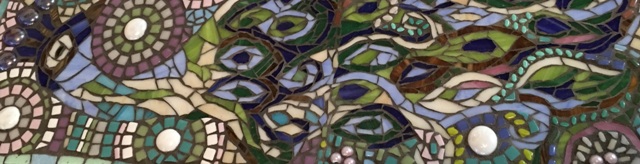
As I had expected, the edges of the two pieces didn’t quite match up, so I did my best to remedy that by adding a few extra pieces here and there. You can still kind of see the line between the top and bottom halves, if you know what to look for, but I thought it worked out pretty well.


Then it was time to experiment with borders…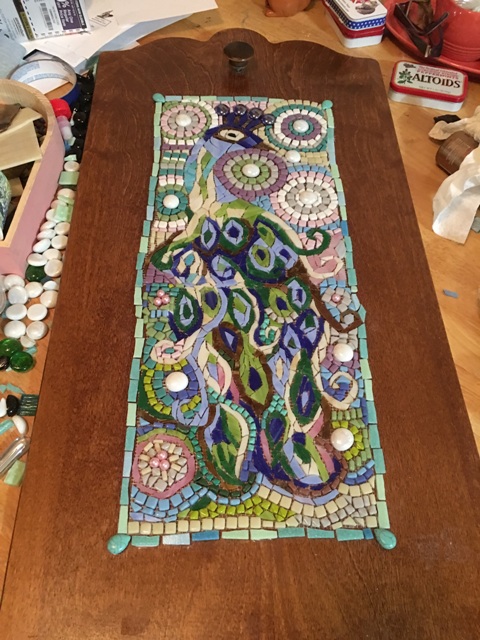 This is what I came up with. I know it’s not perfectly straight, but I figured that would just add to the “handcrafted” look. Don’t you always see that on the tags when you buy handcrafted items? Something like “these irregularities are an indicator of all handcrafted items and are not considered defects.” Yeah, that.


And finally, the moment of truth…the dreaded grout! I say this because, after all that work the last thing you want is to end up with the wrong color grout. Because you can’t really fix that, at least not easily. I went with gray, because that seemed the safest and most neutral.


I knew from using these pink beads in a previous project that the paint would rub off if grout got on them. I thought I would be so careful this time by using a Q-tip and trying not to let any grout touch the actual beads. It kind of worked, but kind of didn’t. At least they are still light pink, instead of white.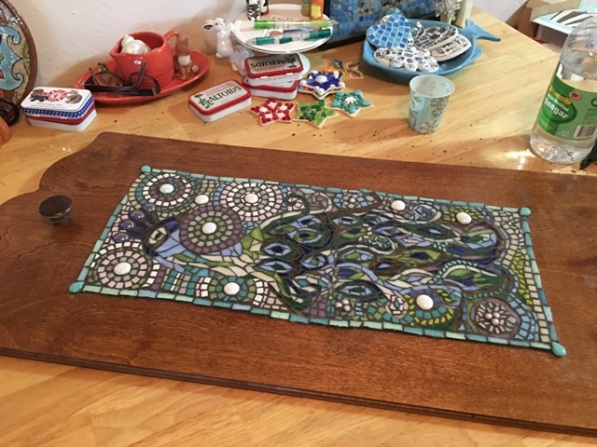 After letting it dry for a little while, I took white vinegar and water and wiped away the “grout haze” from the glass. Oh, the Altoids tins in the background? Those are left over from the new Foster and Panda play sets.


In retrospect, I do wish I had made more of a contrast between the peacock’s neck and the background. I had been hoping the difference in shapes would be enough, but it could have benefited from having either larger pieces or some of the brown glass along the edge.


After rearranging the metal wall decor in the hallway, I was happy with the placement of my newest mosaic!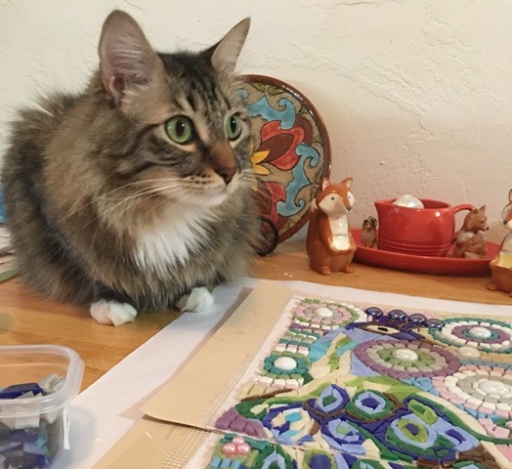 “Wow, Mom, that was a long project! What are we going to make next?”

Hi Debbie. We enjoy seeing all of your creative projects! Love, Eileen and Mark
Hi Eileen! Thank you! I’m so glad you guys are enjoying the blog! 😀💖
Wow! So beautiful! 😻
Thanks! 😀
Really artistic, love it!
Thanks Yvon! 😀
Foster’s expressions made me laugh, but the finished peacock is beautiful. I love those colours. Funnily enough I saw a peacock and a couple of peahens the other day. African birds!
Thanks! Yes Foster’s got quite an expressive little face😊 We have some peacocks here but they are only in parks…not running around loose LOL 😀
Such a beautiful and creative project wonderful
Thank you so much!
That came out beautiful!!!!! Good job and worth the time.
Thank you! I’m glad you liked it!