So if your washing machine is kind of old…
…you might one day start a load of wash, only to discover that your washer has filled up with water but will not agitate or spin. What you have to do is lift the lid up a little bit and let it drop down (often more than once) with a “thud”. This usually jars something and gets it started agitating. Several years ago we had to call a repairman, because even this little trick quit working. After fixing it, he said it was a faulty switch under the washer’s lid.
Fast forward about four years, to yesterday. I had a feeling this was coming, because the washer was starting to do the same thing again. So this time, no matter how many times I dropped the lid down, it wouldn’t agitate, I thought, “Before I call someone out, I’m going to see if I can fix this myself.”


 So the first thing you have to do is unplug the washer. (Remember, this is “Did it Myself” not “Do it Yourself”. Watch the videos; don’t take my word for any of this!)
 So the Phillips screws were right where the video said they would be. No problem, I have multiple Phillips screwdrivers.
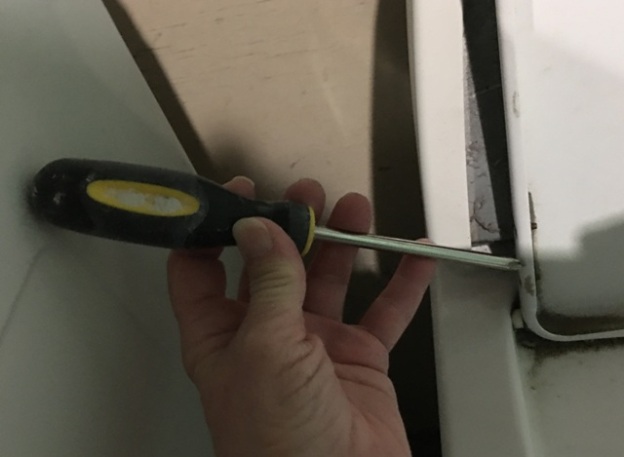 Then I started feeling like “Goldilocks and the Three Bears.” This screwdriver is too long! That’s the dryer to the left, and it’s up on some extender-type cement blocks that Mark had rigged up so we wouldn’t have to bend down so far to transfer the clothes from the washer. I knew I couldn’t push on the dryer too much because if it fell off the blocks, I’d be “toast”.
 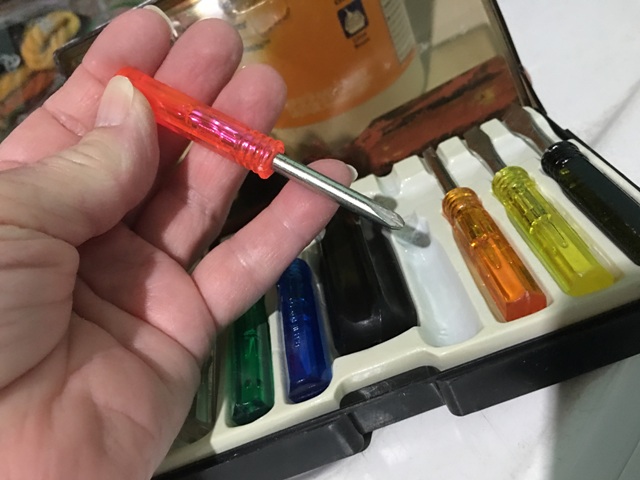 But fortunately I just happened to have this set of really small screwdrivers.
 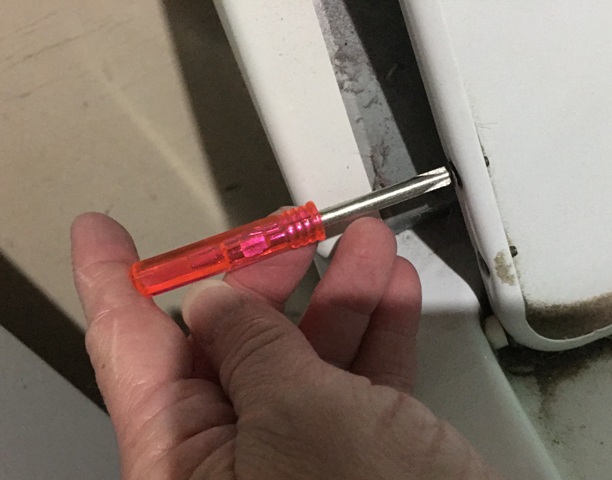 A perfect fit!
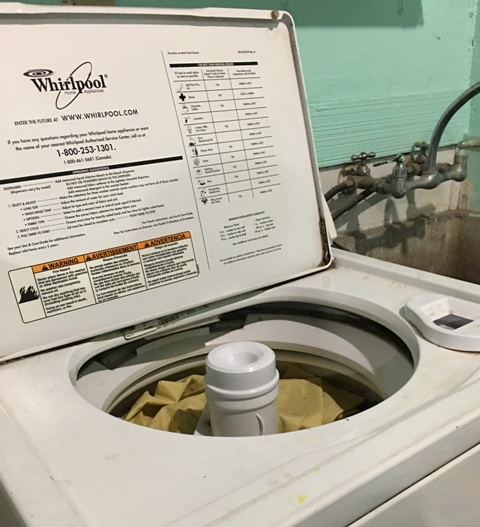
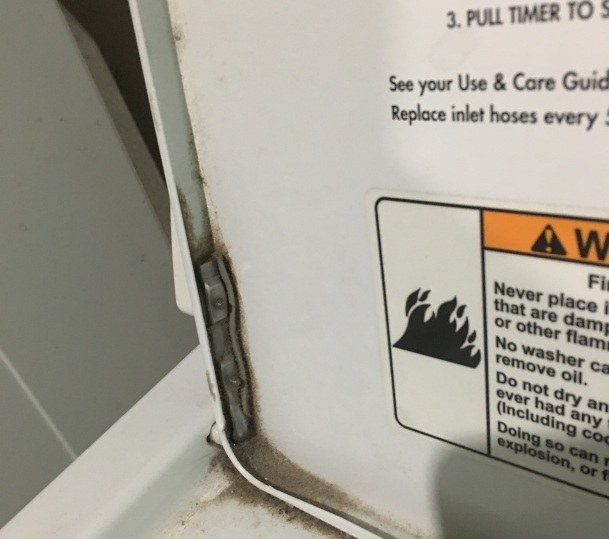 This is what the hinge looks like on the inside. If you look closely you can see where I wiped away some of the dust for the photo.
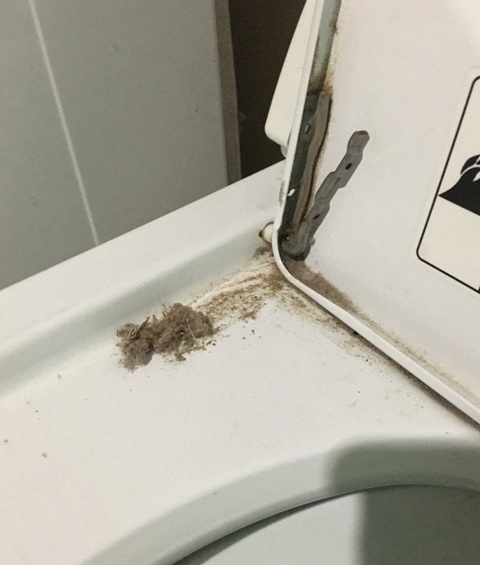 Here the hinge is unscrewed. Now I just had to brush away more dust and wiggle the hinge out to see if it was bent.
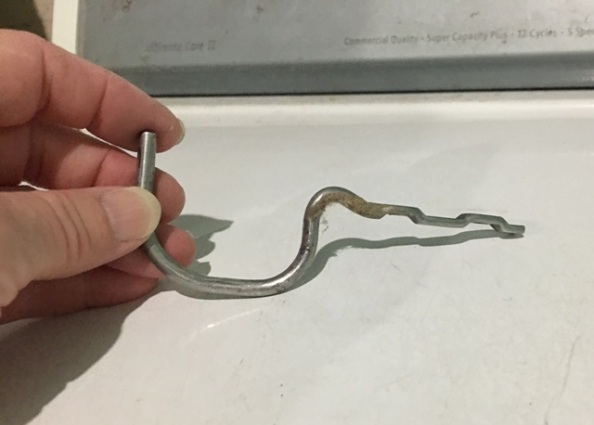 Yep, it was bent, all right, although it’s a little hard to tell in the photo.
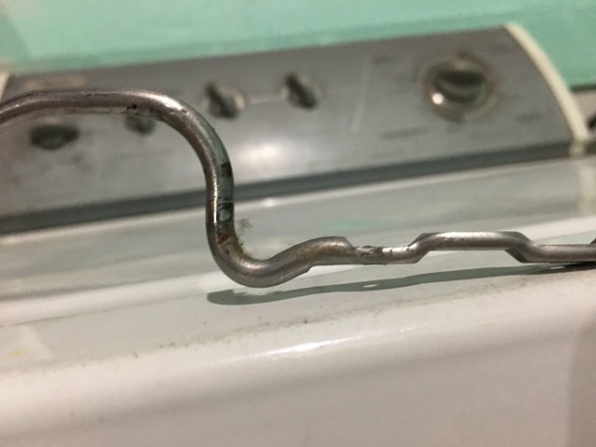 A little side note for you photographers out there: you will see that I utilized “depth of field” by focusing on the hinge, thereby blurring out all the dust on the washer controls.
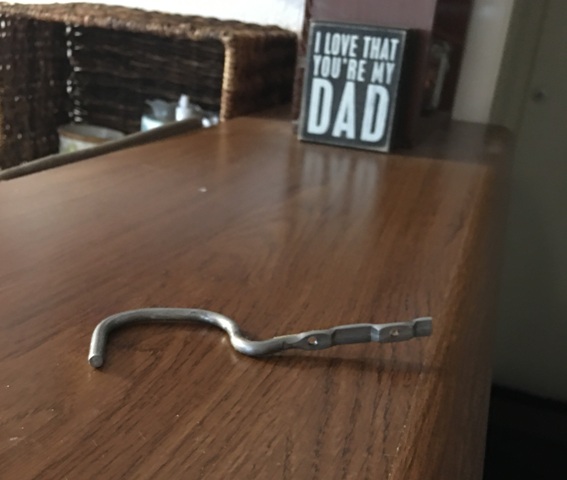 You can see how bent it was in this photo. It’s supposed to lie flat instead of sticking up like that on the right. So in the video, the man says that he just put the hinge in a vise, and straightened it out. But he didn’t show that part, so I was left thinking, A) I don’t have a vise, and B) even if I did, I couldn’t see how a vise was going to help anything.
 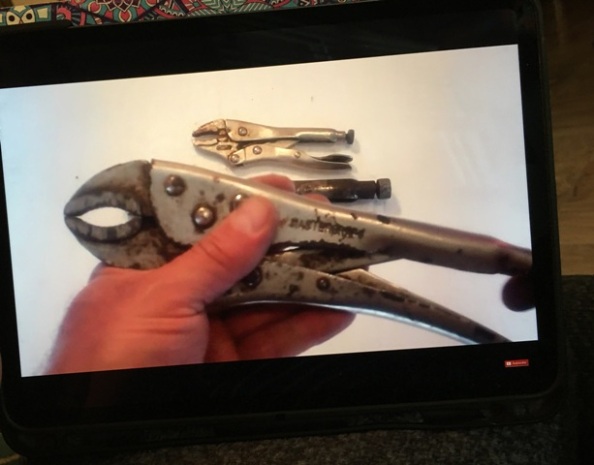 I did, however, have several vise grips. Maybe if I gripped it with a vise grip I could bend it somehow. I looked up how to use them, but my idea didn’t really work. About this time I started thinking that maybe you could just order these hinges on Amazon.
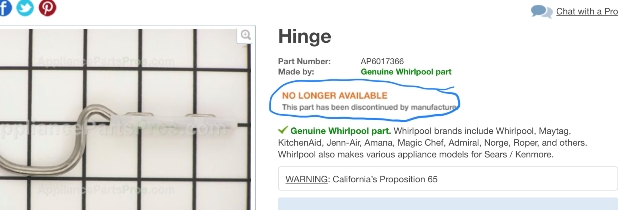
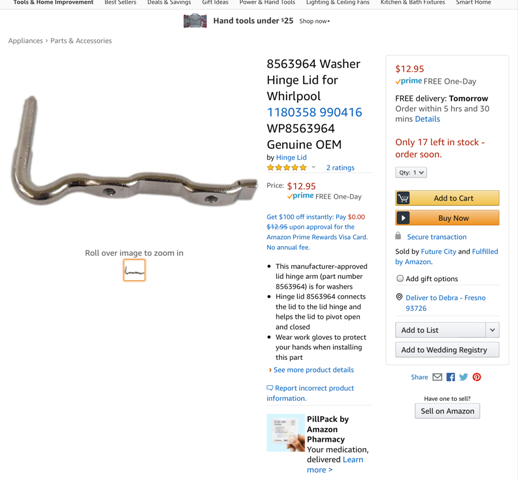 Well, it turns out that you can, and you can’t. This one was a different shape, so I knew it wasn’t the right one. I needed to know the model number of my machine.
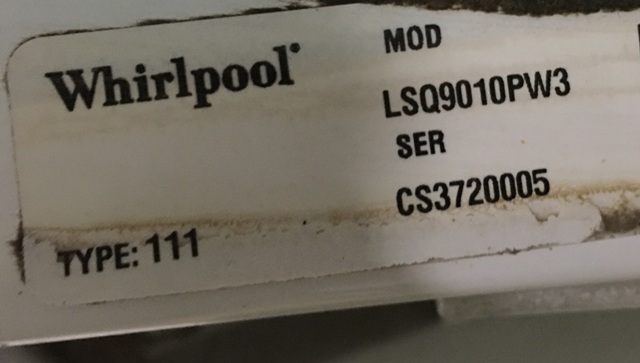 Okay, got it. Now to just type it in…
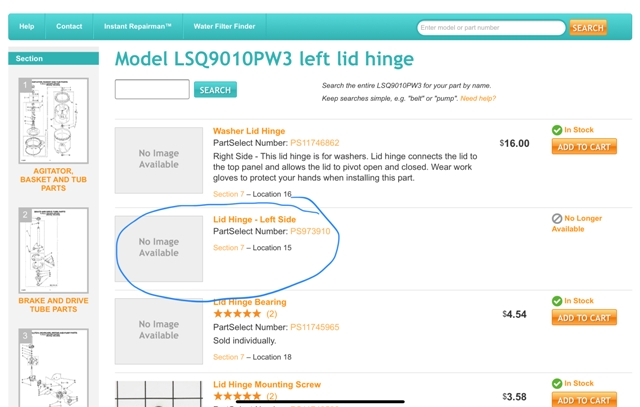 Okay, this did not bode well…
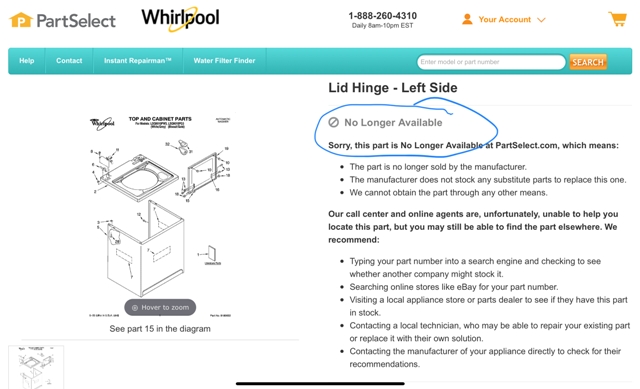 A bit more by way of explanation. I did mention my washer is kind of old, right?
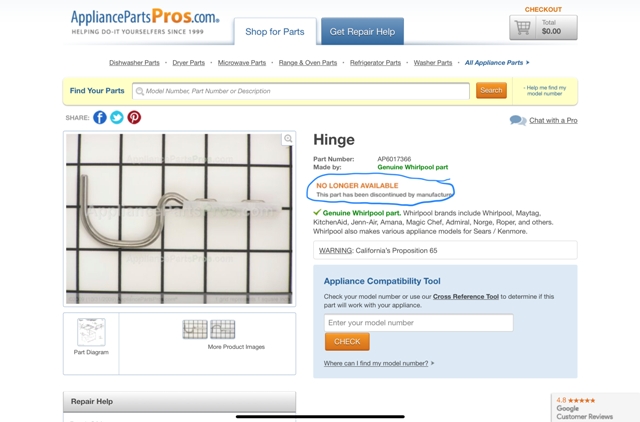 So now I knew I had to try to straighten the hinge by myself. I also knew that if I broke it in the process, I would really be the proverbial and aforementioned “toast”. I tried a few things, but what finally worked was laying it down on the sidewalk outside and tapping it with a hammer until it flattened out. I didn’t take pictures of that part of the process, because by that time I wasn’t sure if this was going to be “blog material” or not.
 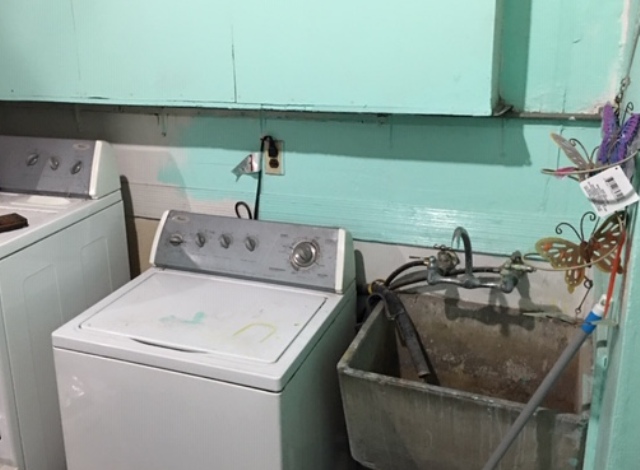 Yay! It worked!! I was so happy! And I was glad I hadn’t tried to replace the actual lid switch, because that wasn’t the problem anyway.
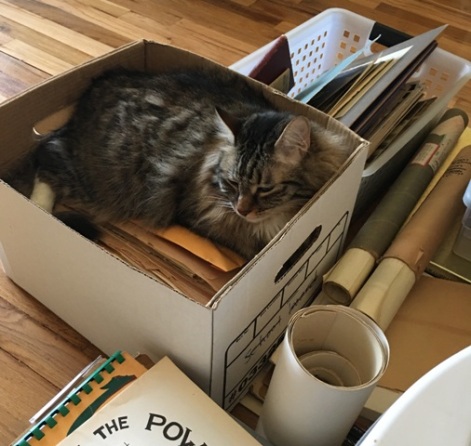 Meanwhile, since most of this occurred in the garage, where certain cats aren’t allowed, my trusty helper had to find other ways to occupy his time…
Author’s note: If you’re wondering why this post is called “Big Girl Part 3” you can find out by reading “The Art of Being Big Girl”and “The Art of Being Big Girl Continued”.

YAY HURRAY! this was definitely blog material!!!! Thanks for the informative post. This gives new meaning to “bent out of shape!” LOL
Lol thanks Patty! I did feel so excited when it really worked!
Oh my! You are much braver than I! Fortunately you had your helper nearby! 🙂
Well, I figured even if it didn’t work I could still do a blog post about going to get a new washer! And you’re right, I guess I could have just called my “helper” and he would have been right there in the middle of it 😂🐱
Ha you’re also quite handy with tools 🔨🔧 love your attitude 👍
Thanks Yvon!
Way to go, Debra! What a handy big girl you are. I loved the commentary too 🙂 Happy washing day!!!
Thanks, Chris! Glad you liked the “commentary”…I guess anything can be “blog material” with enough of that in between the photos!😀
Great job Debbie! And even if it didn’t work, you would still be a big girl since you tried everything to fix your machine!
Haha I guess you’re right at that! 😋
You are certainly our father’s daughter! Lol He would be proud. 🥰🥰❣️
Thanks, Gail! 😋 I’m sure that’s where I get the determination to at least try to fix stuff! 😀🥰 I always remember him thinking about something until he would figure it out, and have tried to do that too, with varying degrees of success Lol
Lulu: “Good job, despite the lack of help from your helper!”
Charlee: “What do you mean? Looks to us like the helper is helping perfectly well.”
Foster: Yeah, Charlee and Chaplin are right, Lulu. Sometimes we help just by sitting there looking cute! 😀🐱🐼
Woo hoo! 🙂 And wow, I don’t think I could’ve figured all that out myself :-p Way to go!
Thanks! I was really happy that it worked! I didn’t want to have to call someone to fix it, or worse, buy a new washer. 😋 But, that in itself would have been “blog material” lol