
If you’re like me…
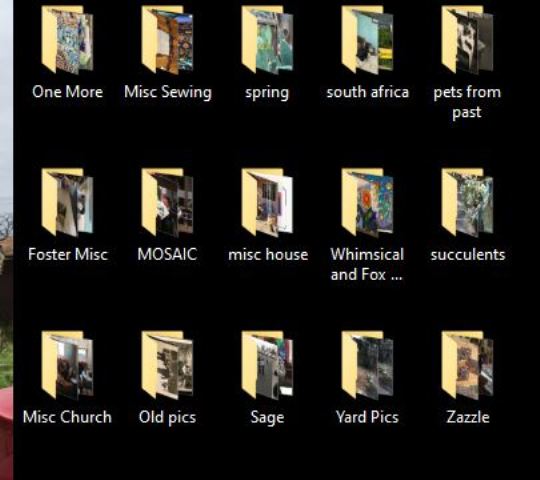 …you probably have all kinds of folders (one of which might be named “Misc Sewing”) on your computer desktop, waiting to be used for that one future blog post. Or maybe they are there so you can find them easily, rather than going through you whole “Pictures” file. Also, if you’re like me, your desktop is so cluttered with folders you want to be able to find easily that you can’t find anything there either. (So much so that you only use a tiny corner of your desktop for the above photo, and you straightened that up before you even did the screen shot.) You may be thinking, “Okay, how is this any different from your sewing room?”
 Well I’m glad you asked. This may look pretty good to you, but as you, know there’s always the photo that makes it onto the blog…
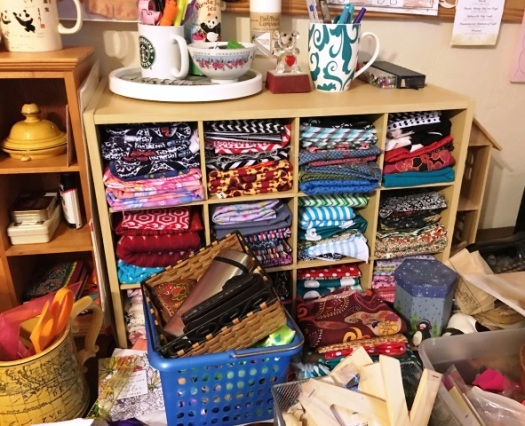 …and the one that doesn’t.
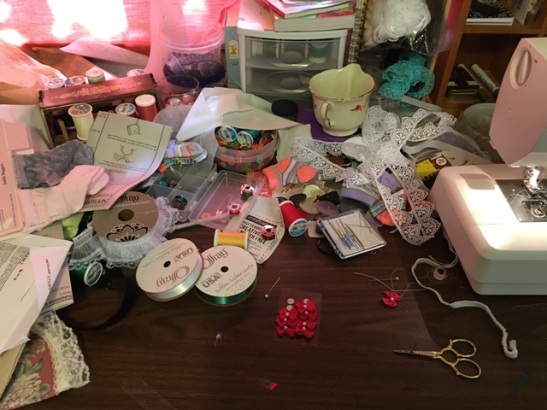 Actually you’ve seen these but anyway. Back to the subject.
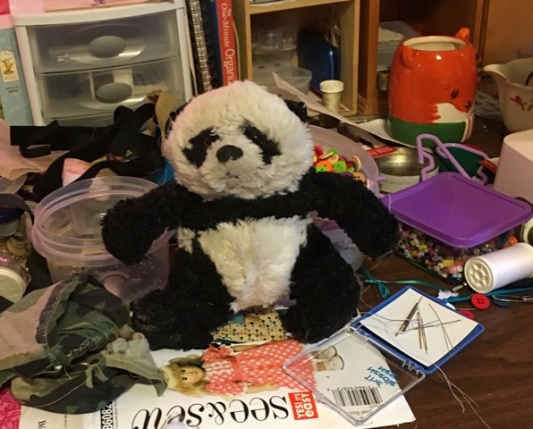 I’m sure you’ve heard of stash busting, right? It’s where you try to get rid of as much of your excess stuff (fabric, yarn, etc.) so you won’t feel bad when you go to buy more.
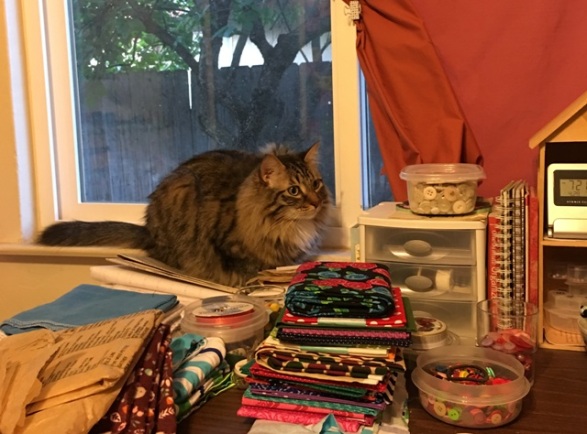 So a little before Christmas I saw a cool idea on Pinterest about how to make reusable “non-paper towels” out of fabric. I think the idea was to save the environment, but I saw it as a way to save money, because I was seriously going through a lot of paper towels by using them as napkins. Thrilled by the idea of using up tons of fabric scraps, I started on the project right away.
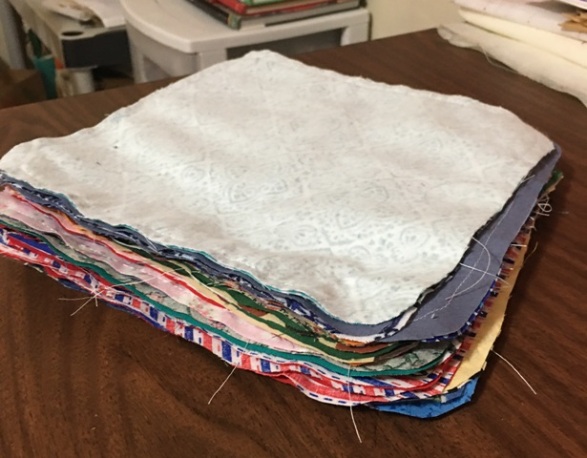 My first job was to make a pattern, which I did by tracing around a regular paper napkin and making it a little bit bigger. Then I found pieces of fabric that looked good together, so the front and back would be different. I found it was easier to put the two fabrics right sides together and cut them both at the same time.
 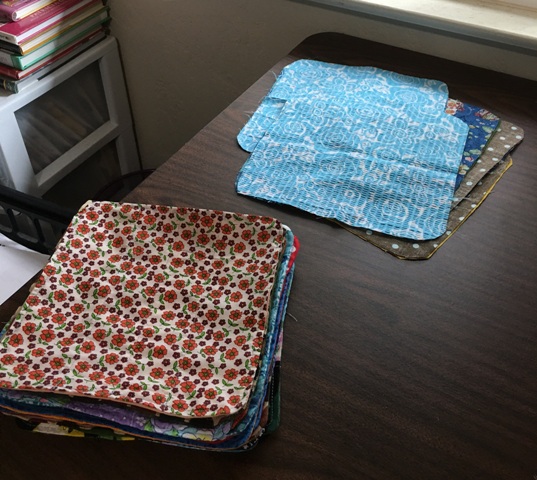 If I’m making a lot of one thing, I like to use sort of an “assembly line” method. So after cutting a stack of napkins, I sewed around the edges, leaving an open space to be able to turn them right side out. After turning them right side out and pressing them, the next step was to top stitch around the edges and make a few lines of stitching in the center.
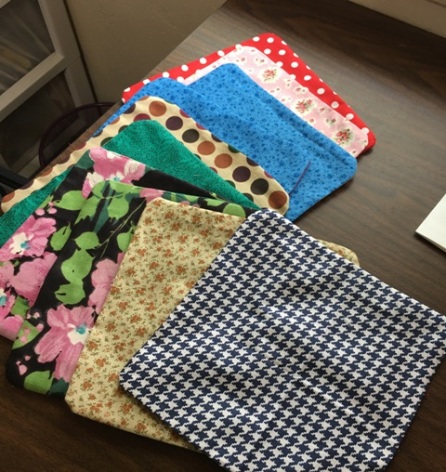 Here is a stack that hasn’t been top stitched.
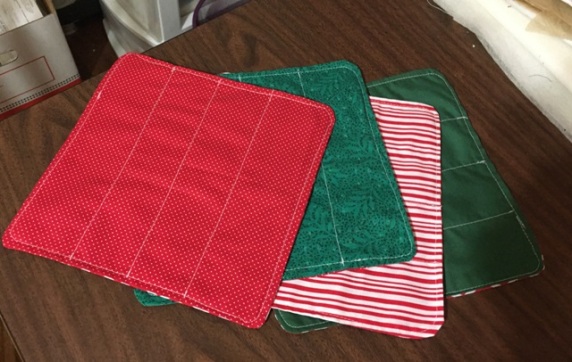 These are the backs of some Christmas ones. The stitching shows up well in the photo.
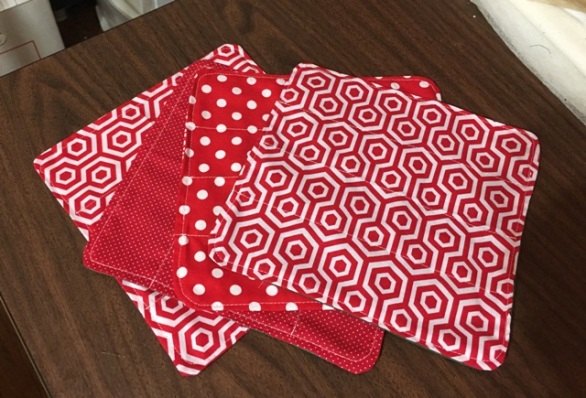 The same ones from the front.
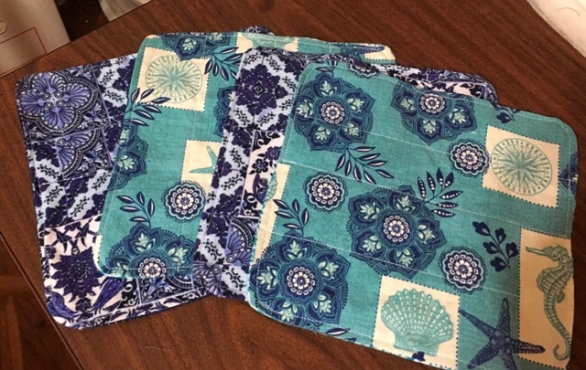
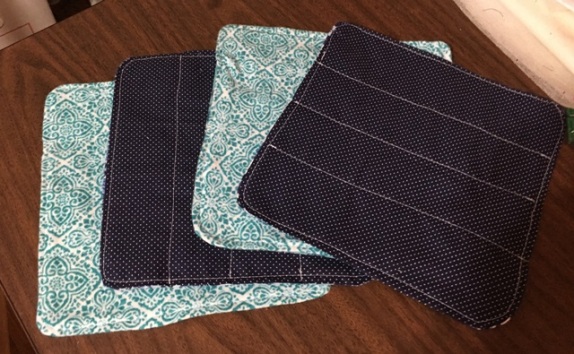 I really like these blue ones. The first picture is the front, and this is the back. If my stitching isn’t perfectly straight, or if the bobbin thread doesn’t really match, for a project like this it doesn’t really matter. I figured, if it was a paper towel I’d be throwing it away after using it anyway, so there’s no need for perfection here.


Originally I thought I could put them in a napkin holder, but I quickly realized that I was going to have way too many for that. So I resorted to just stacking them up on the kitchen island. (And no, these photos are not an advertisement for grain-free cat food!)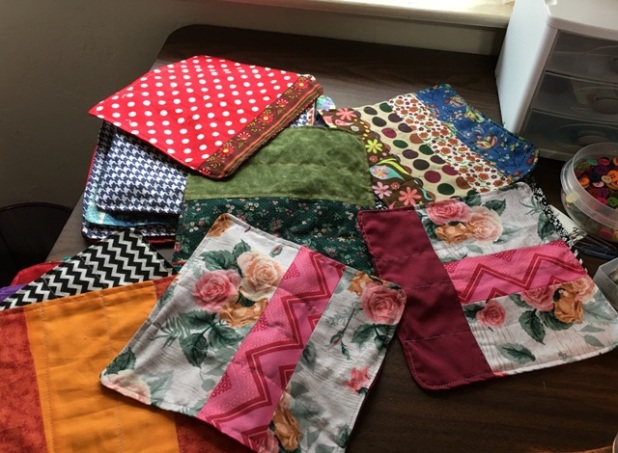 So by the time you could hardly get napkins or paper towels, I had about 40 cloth napkins that I had been using for quite awhile. (Don’t go there: I wasn’t ready for cloth “you-know-what”, although there are plenty of Pinterest tutorials if you’re interested…) But I still had fabric scraps, and I really enjoyed making the napkins, so I started making them and giving them away. (One person even bought some, yay!) As my fabric scraps got smaller I started experimenting with piecing, and I found out I actually liked the way they looked.
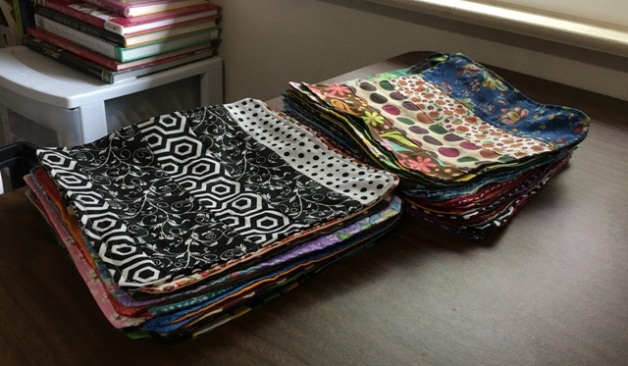


Some random views of different color and fabric combinations.


I think it’s fun to chose which color napkin I want from the pile on the kitchen island. And as you can see in the photo at the right, they wash up nicely. Machine wash, tumble dry. No ironing needed. (Or in my case, no ironing is going to be done, whether needed or not!) 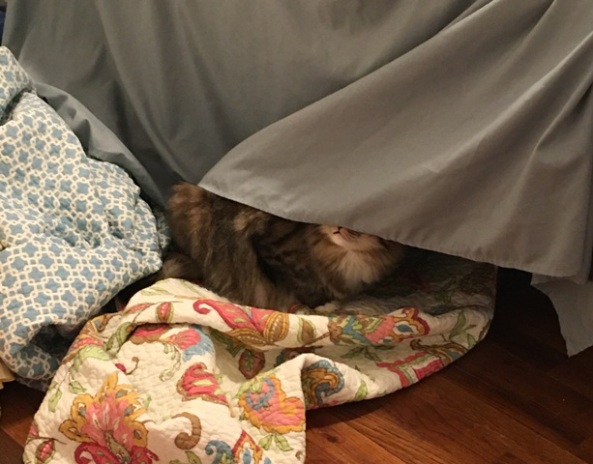 This probably should go without saying, but when you are busy in your sewing room and the rest of the house gets too quiet, it’s a good idea to check the guest room. Just in case.

What a good idea and they look great! I’m not that skilled at sewing, but I’ve made several face masks out of old cotton scarves which I’m quite pleased with!
Good job! It’s the weirdest thing going around with masks on, at least over here we have never had to do it before, at least not during my lifetime!
I love them!
Thanks! They can be kind of addicting once you get on a roll😋
They look fantastic and a very good idea! Now and then I take the time to check my PC and choose some folders to see what I have in them. If I see that I have been holding on to stuff that should have long been deleted I just get rid of the entire folder and move on to the next.
Thanks! Amazing how now that we all have digital photos, our PCs are just as cluttered with them (and other things) as our old boxes of actual photos! Sometimes I start to work on the blog and I get sidetracked looking through everything that, as you said, should have been deleted long ago!
Lulu: “Organization is all a matter of perspective, am I right?”
Yes, Lulu, you are correct! 👍
Debbie, what are the dimensions of your napkins? We’ve been using cloth napkins for years. I like your colorful ones.
Love, Eileen
Thanks Eileen! I’m glad you like them. They are roughly 8×8 inch squares. I didn’t want them as big as the ones they have in restaurants. These seem to be the perfect size for me. I also did rounded corners because it seemed easier to sew and to turn, than trying to get perfectly square corners😀
That’s a great idea/way to use up scraps. I had to laugh at the image of Scout.
After making these to you find the actual function is just right? With paper napkins you can unfold them, whereas a small cloth napkin about the size of a small dish rag, you cannot.
Yes for me these are the perfect size 😀
That is a great idea! Last year I had my house on the market so I gave away almost all of my fabric, thinking that I didn’t want to have to move it to a new house, blah blah blah. Well, I’m still here and now I see something like this and I wish I had my fabric! So much cuter than a dish towel on the table. I go through so many paper towels in a day it is embarassing.
Thanks Christine! I’m glad you like the idea. I’m sure if I ever moved I would just have to say “fabric included” to avoid dealing with all mine LOL