
What could be more whimsical than mushrooms?
 I mean, even in real life they are whimsical, as you can see in this picture I found on http://www.pixabay.com.
 But they are even more whimsical if you draw them, because then you can have whimsical insects too.
 And if you are like Panda, you just might get stuck in a whimsical spider web next to one of those whimsical mushrooms!
 Which brings me to my next point. If you turn a bird bath upside down because you don’t want to breed mosquitoes in your front yard, it will kind of look like a mushroom.
 And if you just happen to find some ceramic tile mastic in your garage (I’m not making this up), and if you spend way too much time looking at craft ideas on Pinterest, you might get a whimsical idea.
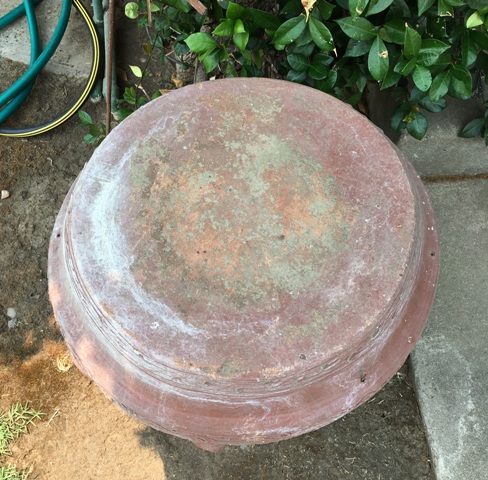 You could always draw a design on top of it, and use your tile mastic (also known as tile adhesive) to stick glass gems onto it.
 So far, so good!
 A spiral pattern would look nice.
 You’ll probably need to go buy some more glass gems, because, let’s face it, the odds of your already having enough of the right colors in your “craft stash” are going to be pretty slim.
 You will most likely need iced tea at some point, so you might as well just go to Starbucks first.
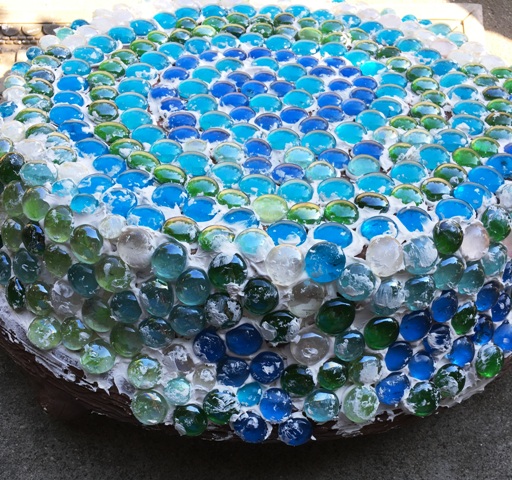 When you finish with the top it will look like a cake with frosting!
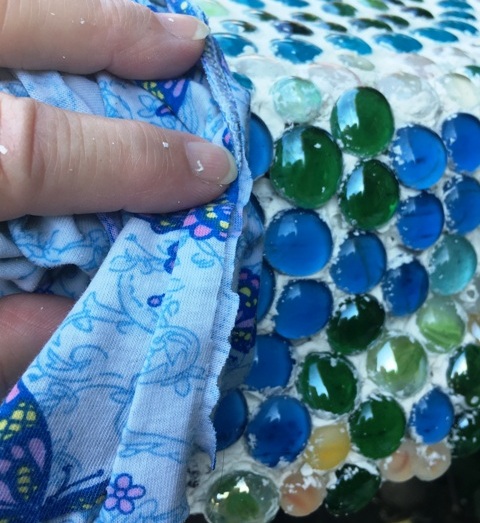 After waiting about 20-30 minutes, you need to wipe the adhesive off the gems with a damp cloth. It’s pretty easy, but if you wait too long it will be harder to get off.
 Be prepared for your front porch to get pretty messy. Your bird bath top is also going to get heavier and heavier the more glass gems you add to it. You will need to let the adhesive dry, preferably overnight, and then you need to put grout on it.
 First, gather up your tools. They’ll probably be in the garage, you’ll just have to find them. Then you’ll have to go get some grout, which is not, I might add, the same as tile adhesive.


At Orchard Supply, tile grout comes is a box of seven pounds for $11.99. At the craft store, you can get one pound for $7.99. Thinking there was no way I would ever need a whole box, I bought the small container at Michael’s Crafts.  I soon discovered that one pound was not even enough to cover the top, and since I had decided to do the base too, I went back to Orchard’s for the seven pound box. Now I have enough grout for all kinds of projects!
 After the grout dries, you get a damp cloth and wipe off the excess.
 So it will end up looking something like this. Not bad for a beginner!


Here is what the base looked like in progress, with and without the grout. I did mention you’ll probably need more glass gems, right?
 This is how it looks so far. You can see that the back part of the base isn’t completely covered. Once I get that done it will be time to research grout sealer. I’m not sure I like the white grout, and I’ve seen where you can get grout sealer in different colors, so we’ll see what I come up with. My whimsical mushroom will have to be waterproof, because it will be outside in the rain over the winter. (At least we are hoping for rain. I’d just be happy with cooler weather, for that matter.) So I’ll be waterproofing the grout by faith!
Another DIY tip I just discovered:
 If you took pictures with your phone, take a screenshot and crop it to show the squares you want. This can then be resized and used like any other picture for your blog. It makes a nice little recap of your process, either as a review or an introduction.
Pretty cool, if you ask me!
