
Have you ever just wanted to smash a plate?
 Me neither, really. But after playing with glass gems and grout on my “Whimsical Mushroom”, and after my sidewalk patch “mosaic”, I got another idea…
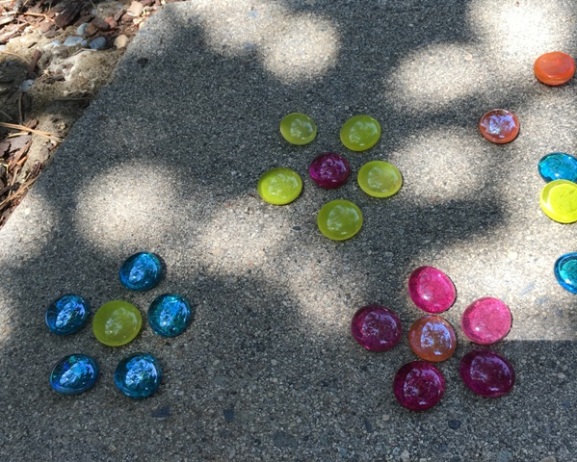 Wouldn’t it be so fun to make a mosaic on the little strip of curbing in the back corner of the yard that surrounds the palm tree stump?
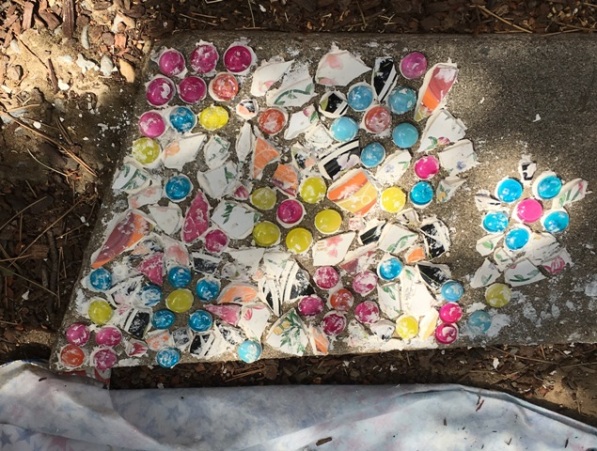 Yep, I thought you would agree. I still had some of the ceramic tile adhesive left, and I had some pieces of the plates I broke for the sidewalk, so I thought, “What doth hinder me?” Other than the weather still being in triple digits, and there being a bunch of mosquitos apparently hiding in the ivy just waiting for me to come out, I could see no reason not to begin.


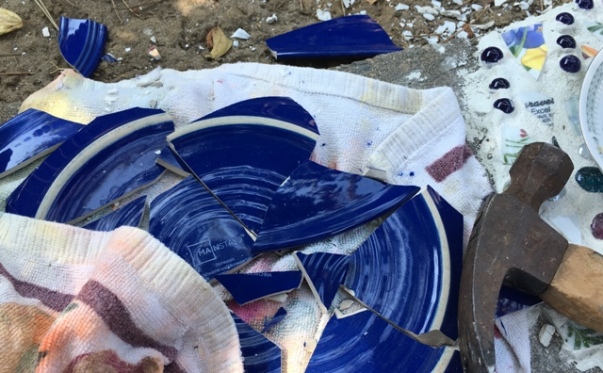
This time I covered the plates with a towel before hitting them with the hammer. I discovered that some plates are a little too thick to match up with the thinner china, (but I used them anyway), and that some parts of plates are easier to make into mosaic pieces than others. I also learned that the pieces you are using to make your mosaic are called “tesserae”. Pretty fancy, don’t you think?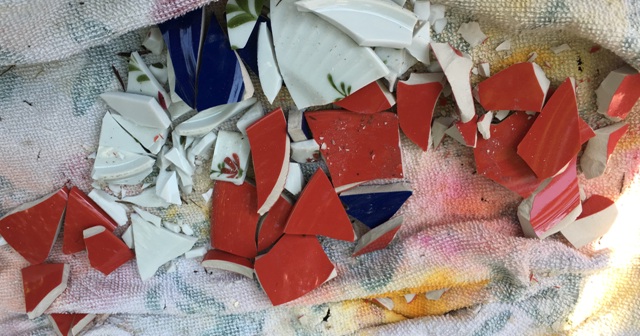 Here you see some of my newly created “tesserae” on top of a dish towel. You can tell by the paint spots that this dish towel is no longer being used in the kitchen.
 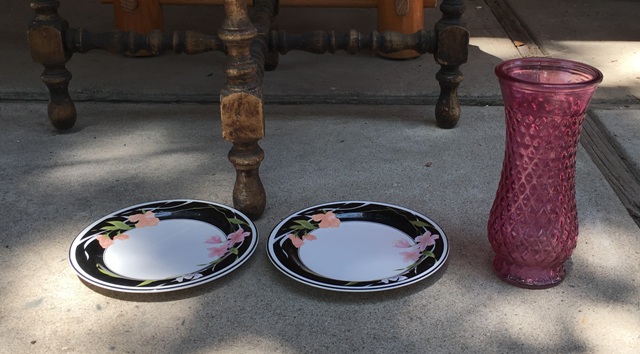 I thought this pink glass vase was a good thrift store find, along with the two plates you see here. Unbeknownst to me, that kind of glass is actually painted, and when I used some of it, the paint scratched off during the grouting process. Plus it was a little tricky handling the pieces because they’re pretty sharp. So just in case you were thinking about using a clear colored glass vase for a mosaic, you might want to change your mind. Even some of the glass gems turned out to have their color painted on.


Here you can see the pink glass when it was first glued down, and how the grout affected both it and the glass gems. 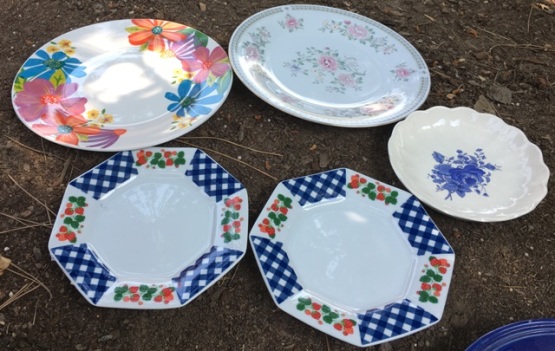
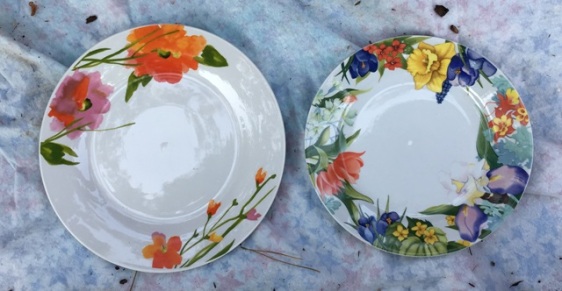
 So far I’ve gotten one plate from the Dollar Store, one from a yard sale, one from my cupboard, and the rest from thrift stores. At one thrift store when the girl working there asked if I wanted my plates wrapped, I said, “No, I’m just going to break them anyway.” She looked surprised, and so I whipped out my phone and showed her pictures of what I had done so far. She had never heard of breaking plates for a mosaic, but she was quite intrigued by the idea.
 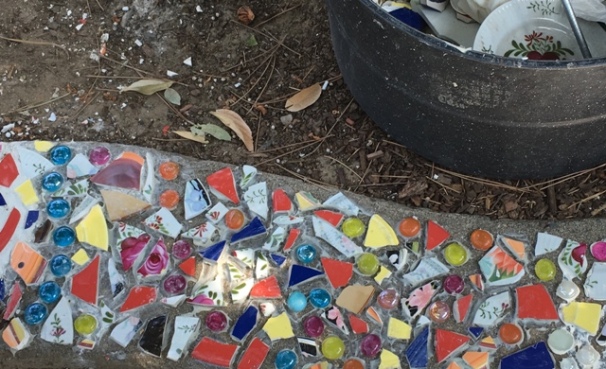 I ran out of the tile adhesive pretty early on, and the store I went to didn’t have the same stuff, so I bought what I thought would be similar. Turns out, it wasn’t.


On the left you see the “right stuff”, and on the right is the wrong stuff. Got it? Right.
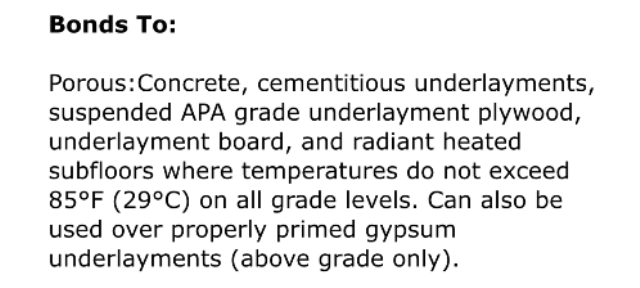 I used it for a few tiles, but something didn’t seem quite right. Then I read the directions. You’ll notice it says it can be used on heated subfloors “where temperatures do not exceed 85 degrees Fahrenheit.” Well, I don’t need to mention that this is Fresno, so that’s not going to happen!
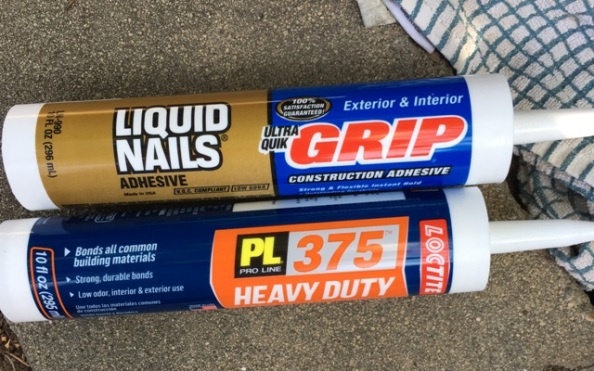 I went back to the hardware store and asked what they had that would work, and I was directed to “Liquid Nails”. So I got some, plus another kind of bonding material, and they seemed to work fine.


Here is how the liquid nails looks when it is wet, but it dries clear, as you can see below.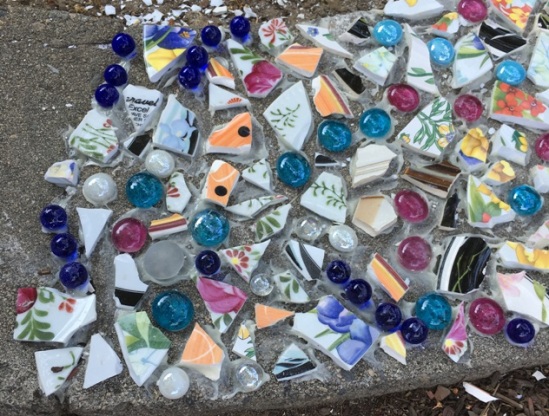 You’ll notice the dark blue marbles. I got them at a thrift store along with some blue glass gems. I discovered, however, that it was hard to put grout around them, and they stuck up too far, making my mosaic surface more uneven than it already was.
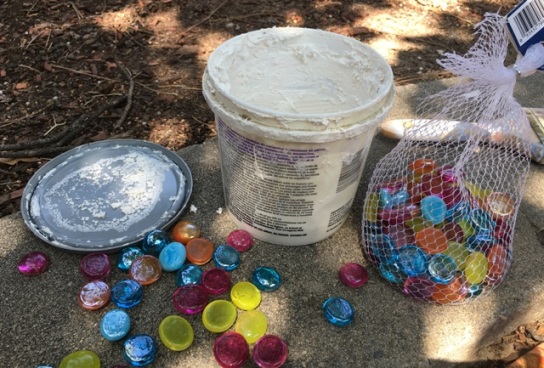 Speaking of marbles, I have one thing to say: you can’t find regular, old marbles like we used to have as kids anymore. I’ve looked in the toy section of major stores and nothing. I asked a nice man who was in the store with his kids and he said he never sees marbles anymore either. What’s up with that?
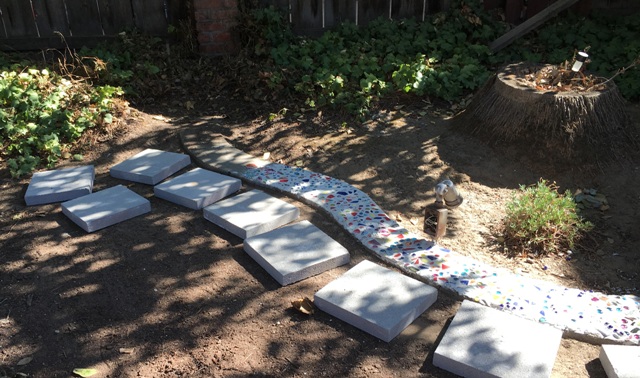
 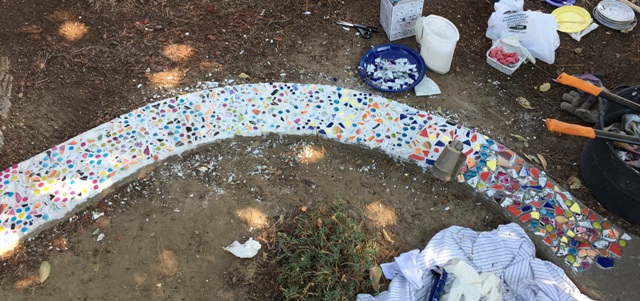 Gradually I made it almost to the end of the curb. I took this while standing on top of the palm tree stump.
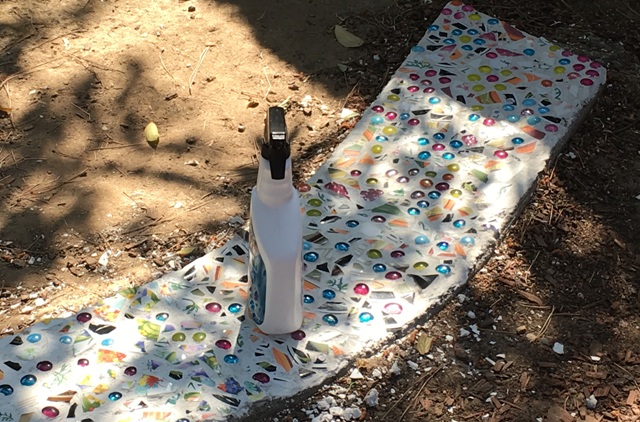 I really like the way the glass gems look sparkly in the sun. The spray bottle is some grout sealer I bought to make it so the grout won’t absorb water. It seems to work okay.
 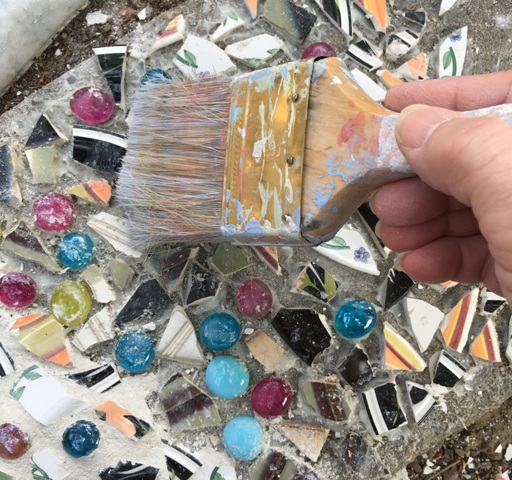 If you use a brush to get the dirt out from between your tiles, you can pretend you are an archaeologist finding fossils or ancient pottery. Which I always thought would be a super cool profession, except that you have to fly in planes across the ocean, and probably sleep outside in tents with no running water, and eat unfamiliar food that you don’t know what it even is…did I ever mention I was raised by Swedes? (Click the link for more info on that!)


A few more pictures to show how it’s turning out.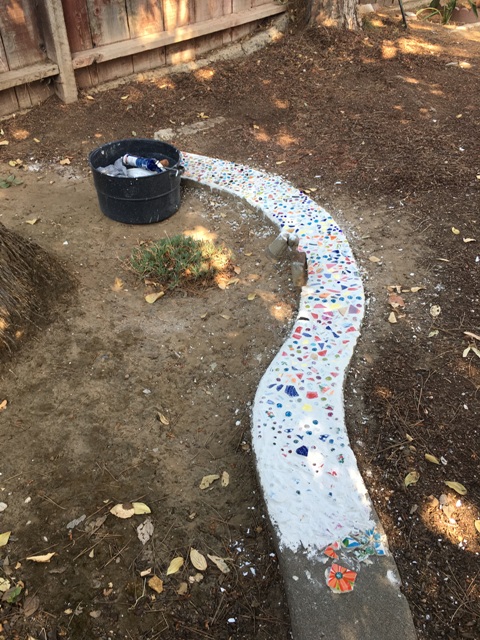 The long and winding curb, that leads to the ivy…
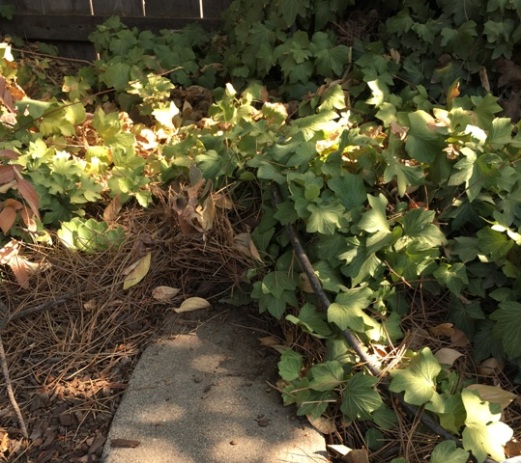 Finally found the end! I had to take out some of the ivy, which I’d been planning to do anyway.
 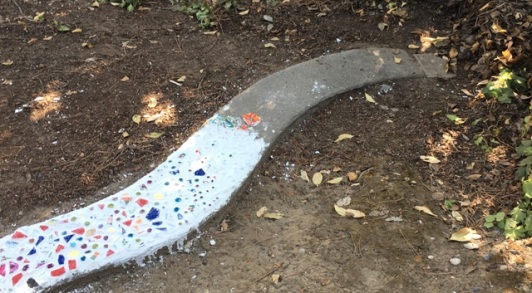 I was surprised at how much of the curb was covered by it!


More random shots of the process…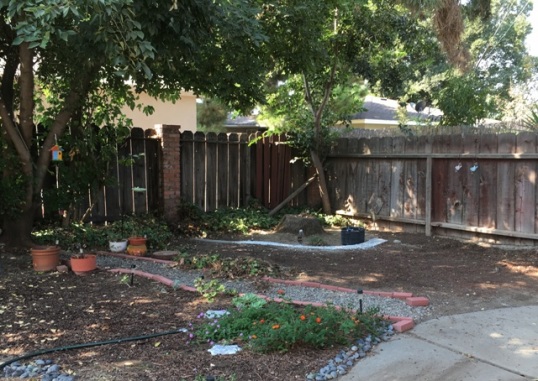 It’s almost done! You can see a pile of ivy cuttings in the center of the photo. The goal is to get rid of that, along with the rest of the ivy in the corner, once the weather cools down some.
And, coming soon…
 …the new stepping stones! After I finish the curb mosaic, you understand…
