Okay, you really don’t want to know about my “former” sago palm…


Suffice it to say that I had to trim back all its leaves…


However, I managed to plant it in the flower bed, so we’ll see how it does there.


It also had two “babies” that I will be attempting to plant as well.
 So, rather than being about the palm plants, this is going to be about the clay pot. Armed with Liquid Nails (which I really like, by the way), I decided to try doing a mosaic on it using the leftover broken plates from my “Long and Winding Curb”.
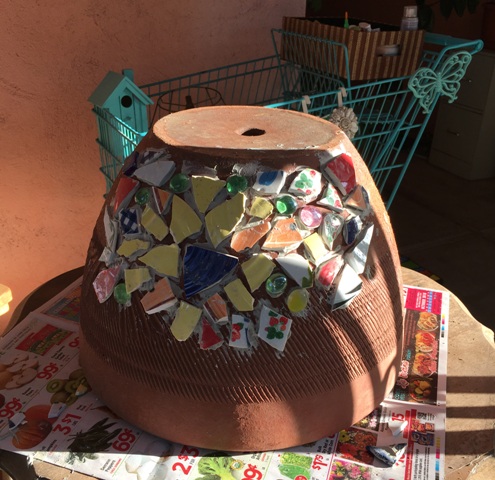 I have to say that I have been really surprised by how much I enjoy doing mosaics. I’ve always liked looking at them, but since the “Whimsical Mushroom” in the front yard, I’ve really gotten “into” this.
  Here is the back of the clay pot before being tiled…
 …and after.
 Even though I started with a vague semblance of a flower at the beginning, I quickly realized it would be easier to go with a completely random design.
  This time I decided to go with a darker grout. You can see I used the same “grout mixing bowl” I had used for the white grout. I just figured it wouldn’t hurt anything, and I was right. I liked the fact that this grout looked like stirred-up chocolate ice cream. (Truth in blogging: I only know this because as kids we used to stir up our ice cream, saying we were making “soup”. Our parents always told us to stop, but by then it was usually too late.)
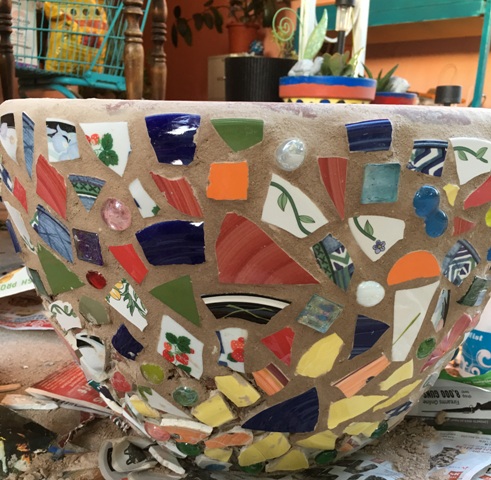 Chocolate ice cream aside, I realized that grouting was going to make the pot even heavier than it already was, so I took it off the table before starting.
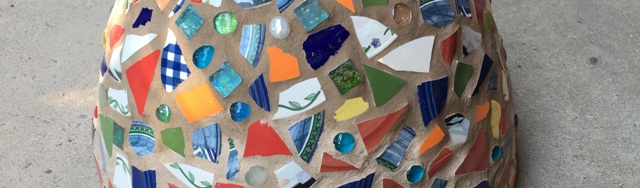
  Here’s a close up of the other side. You will notice the triangular blue tile near the top that looks like it’s coming off. This happened with a few of them, and the only thing I could figure was that the curve of the pot and/or the ceramic piece prevented them from sticking well, even with Liquid Nails. So I did have to replace a few with flatter pieces.
  Almost done!
 Making a huge mess and loving it!


I did have to turn the pot upside down to grout the lower part. At the last minute I thought it needed glass gems along the top rim.
 The next morning I was delighted to see how pretty the sunlight looked shining through the gems. But they still needed to be grouted, which I knew would take some of that shine out of them.
 One last photo of the gems without grout.


Grouting in progress. And, because I didn’t want to wait till morning to finish this post, here it is in the porch light, with the excess grout mostly wiped off. It does still need to be sealed so it will be at least somewhat water resistant. But I’m happy with the way it turned out, considering it’s the first one I’ve done.
And coming soon…


 Some more projects that were going on at the same time, including a “shabby chic” mosaic turtle! Details to follow…
